Welcome to our free Open Graph (OG) image generator! This guide will walk you through the steps to create high-quality OG images using our website to enhance your social media sharing experience.
What Is an OG Image?
An Open Graph (OG) image is used for social media sharing. When you share a link on social platforms like Facebook, Twitter, or LinkedIn, the OG image appears as part of the shared content. A captivating OG image can significantly boost your content’s click-through rate and user engagement.
Getting Started
Using our OG image generator is easy. Follow these steps to quickly create an OG image tailored to your needs.
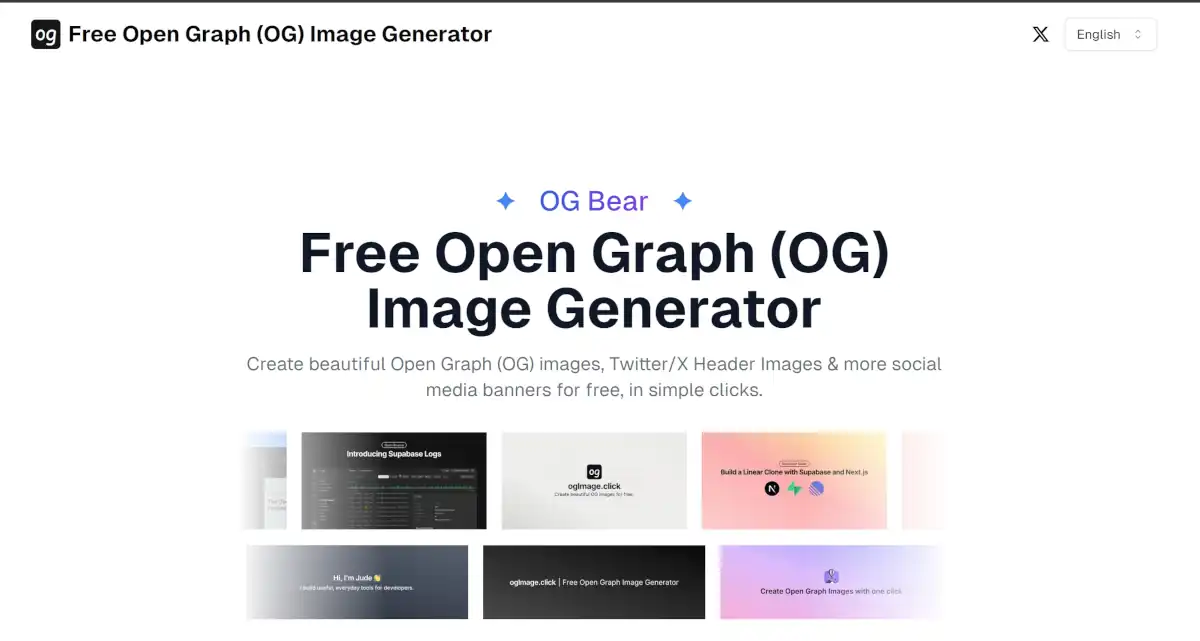
Step 1: Access the Generator
Open your browser and visit our homepage: Free OG Image Generator.

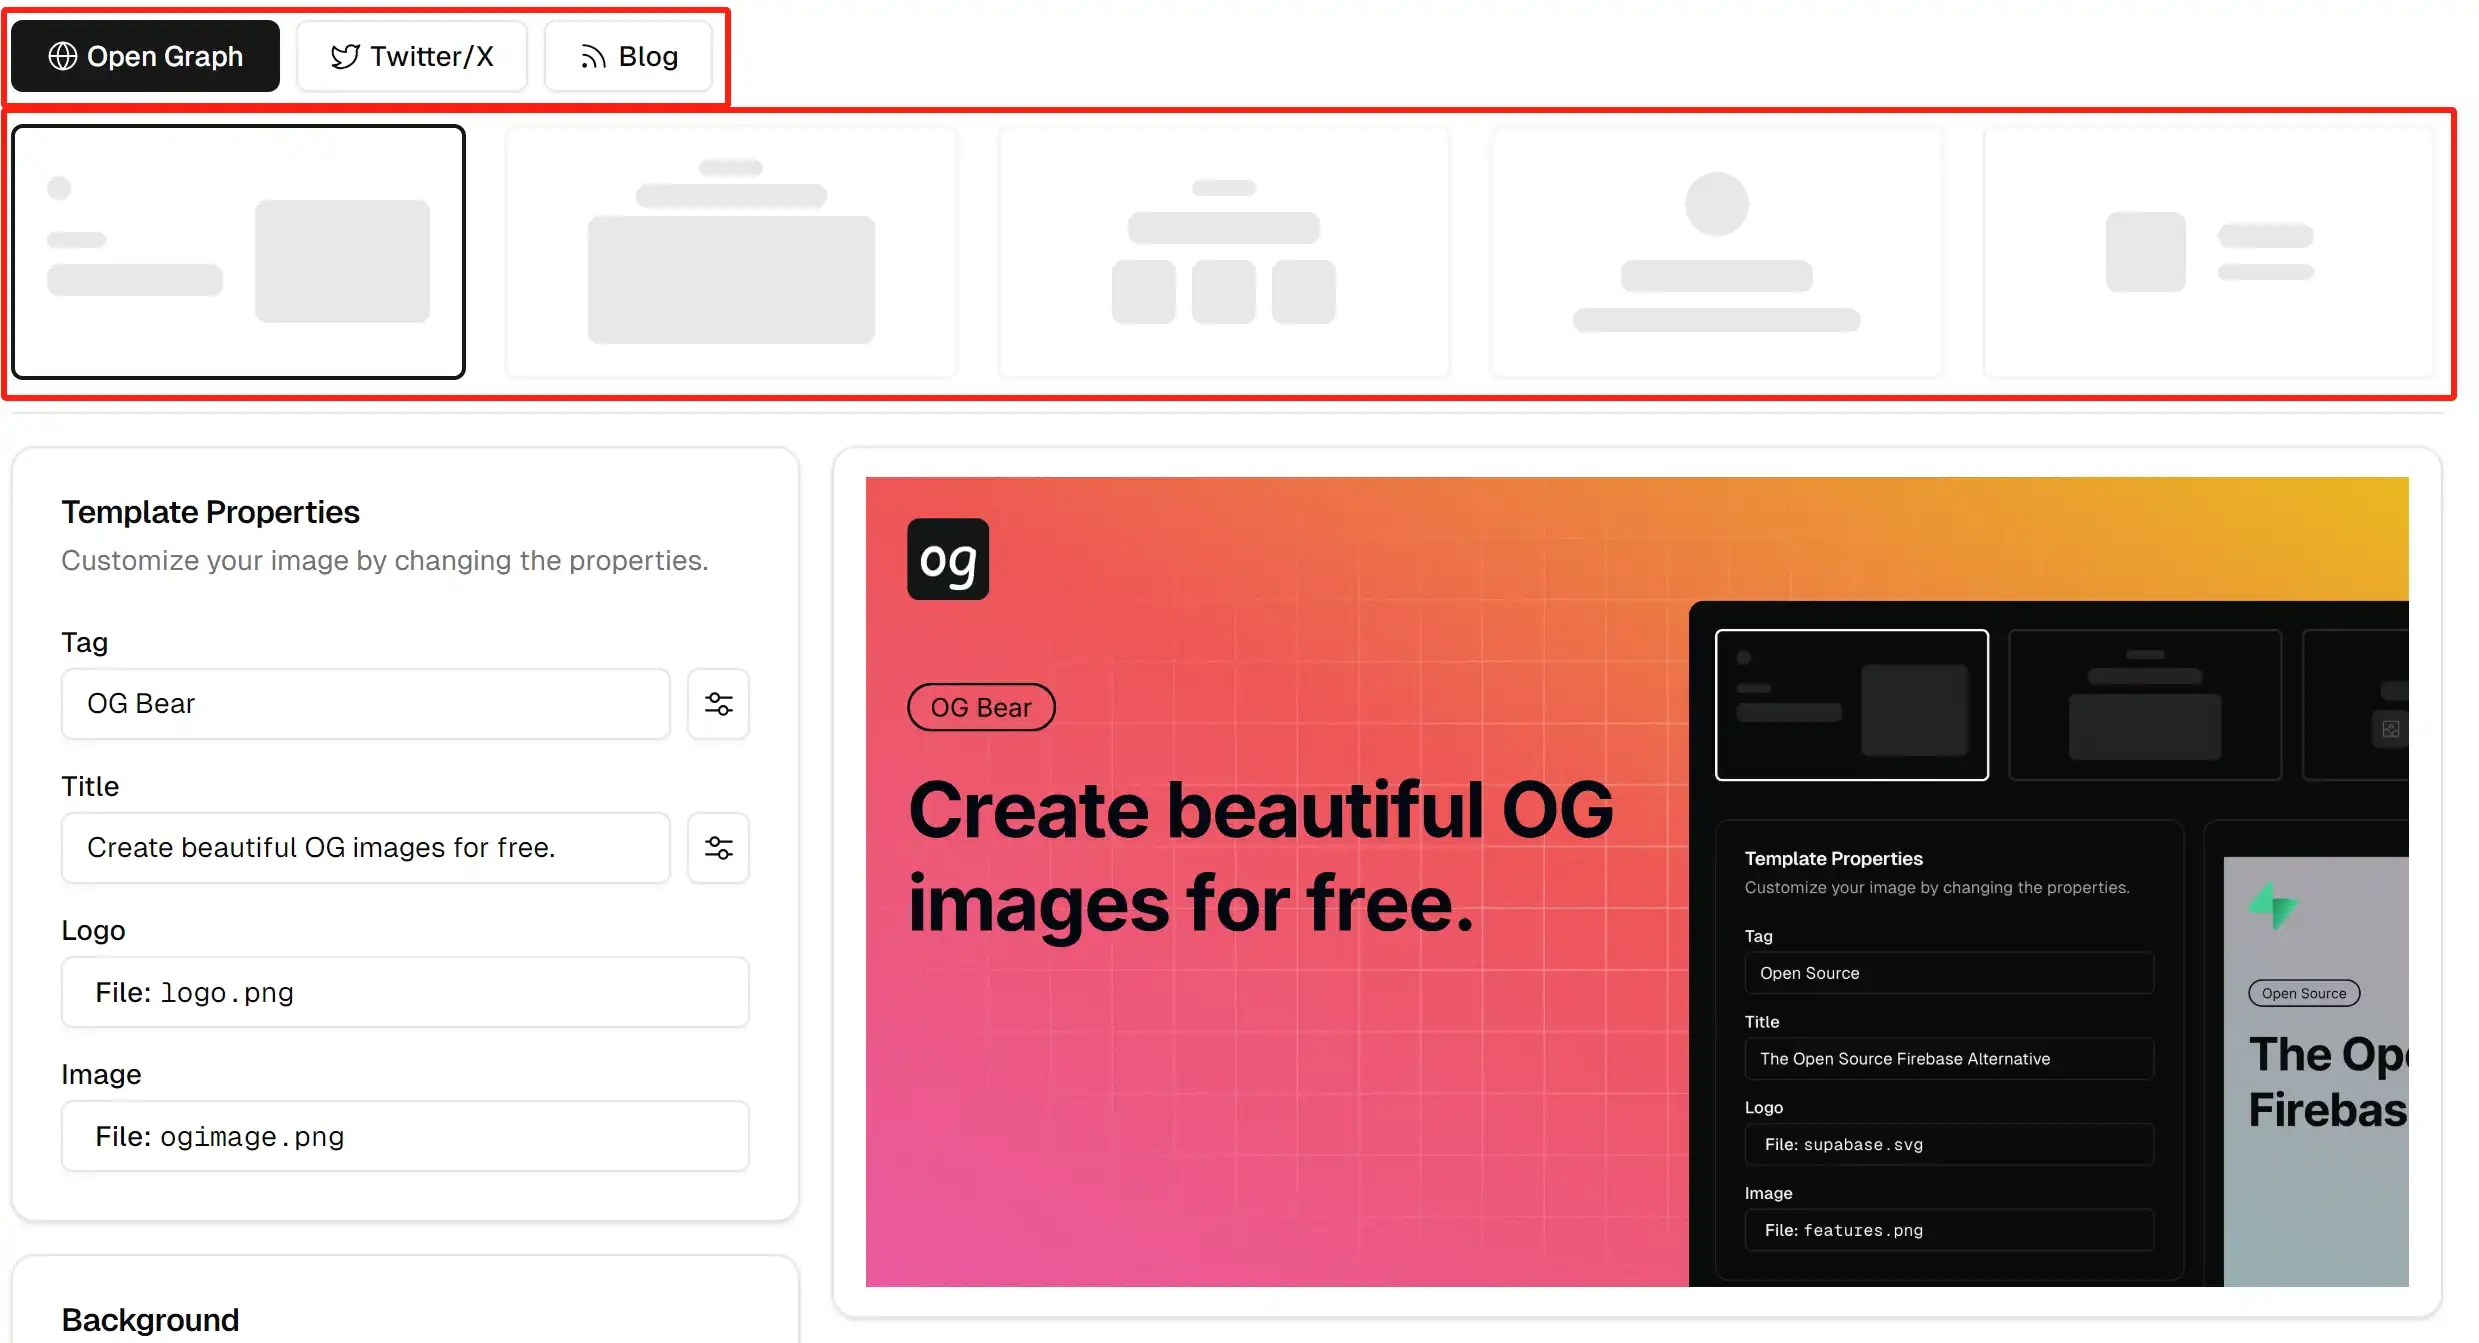
Step 2: Choose a Template
On the homepage, you’ll see multiple customizable OG image templates. Choose one that matches your content’s style.

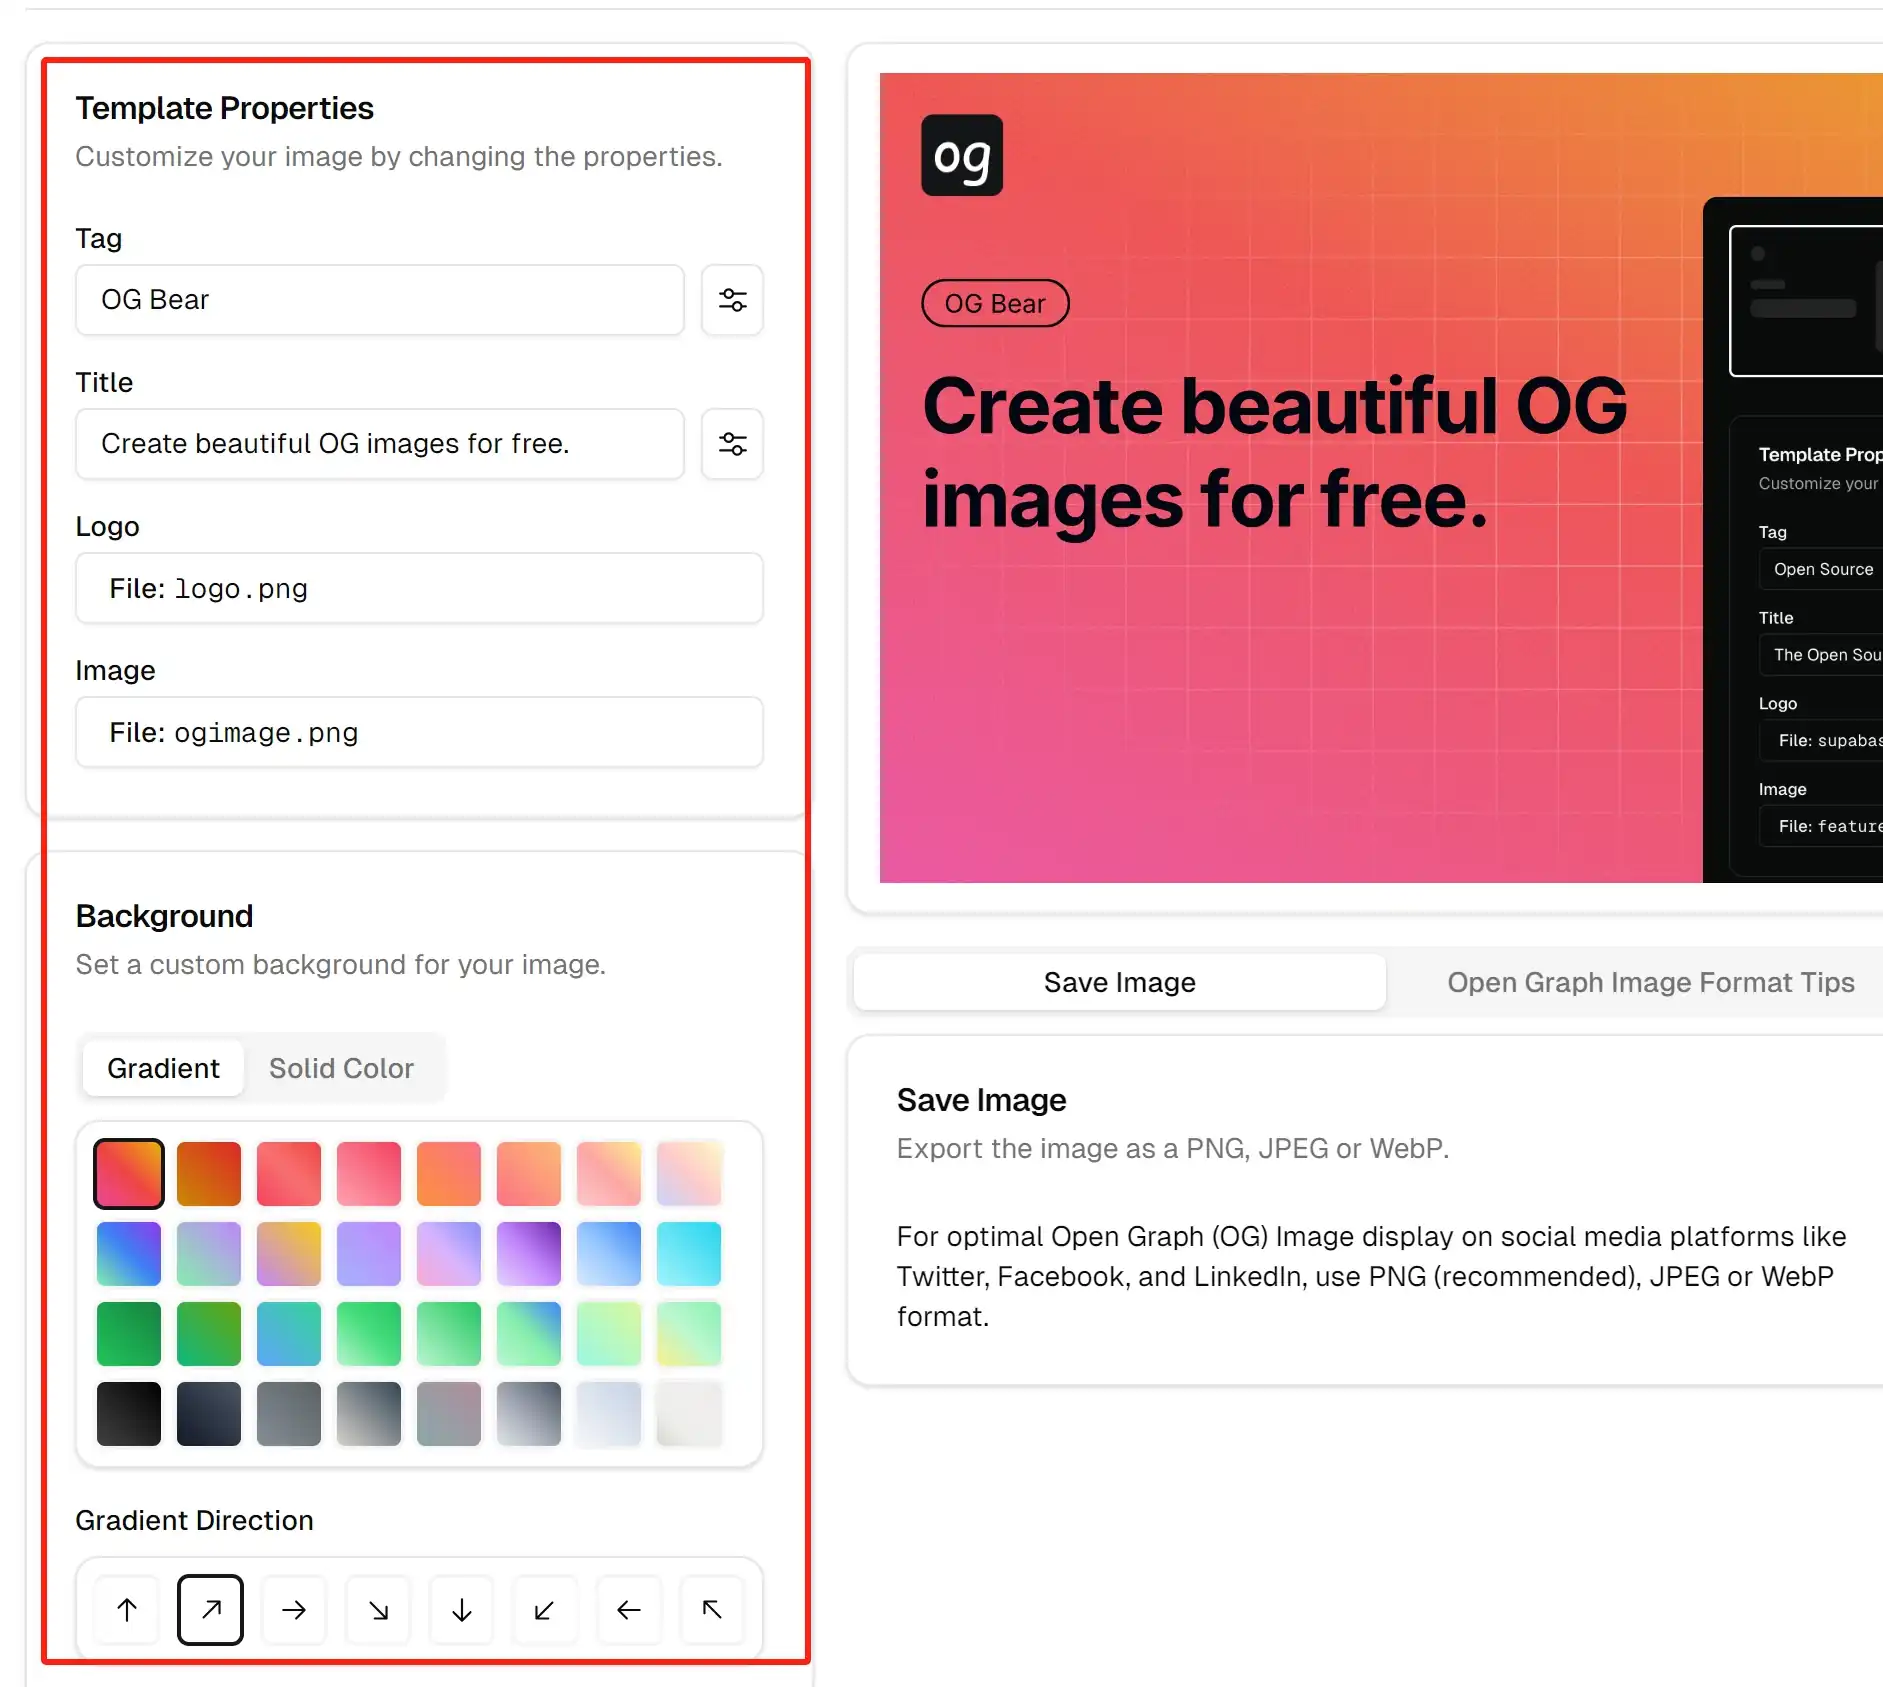
Step 3: Customize Your Image
After selecting a template, you can customize the following elements:
- Title: Enter the title of your article or page.
- Description: Add a short description summarizing your content.
- Colors and Fonts: Choose colors and fonts that align with your brand style.
- Image Elements: Add brand logos, icons, or other visual elements.

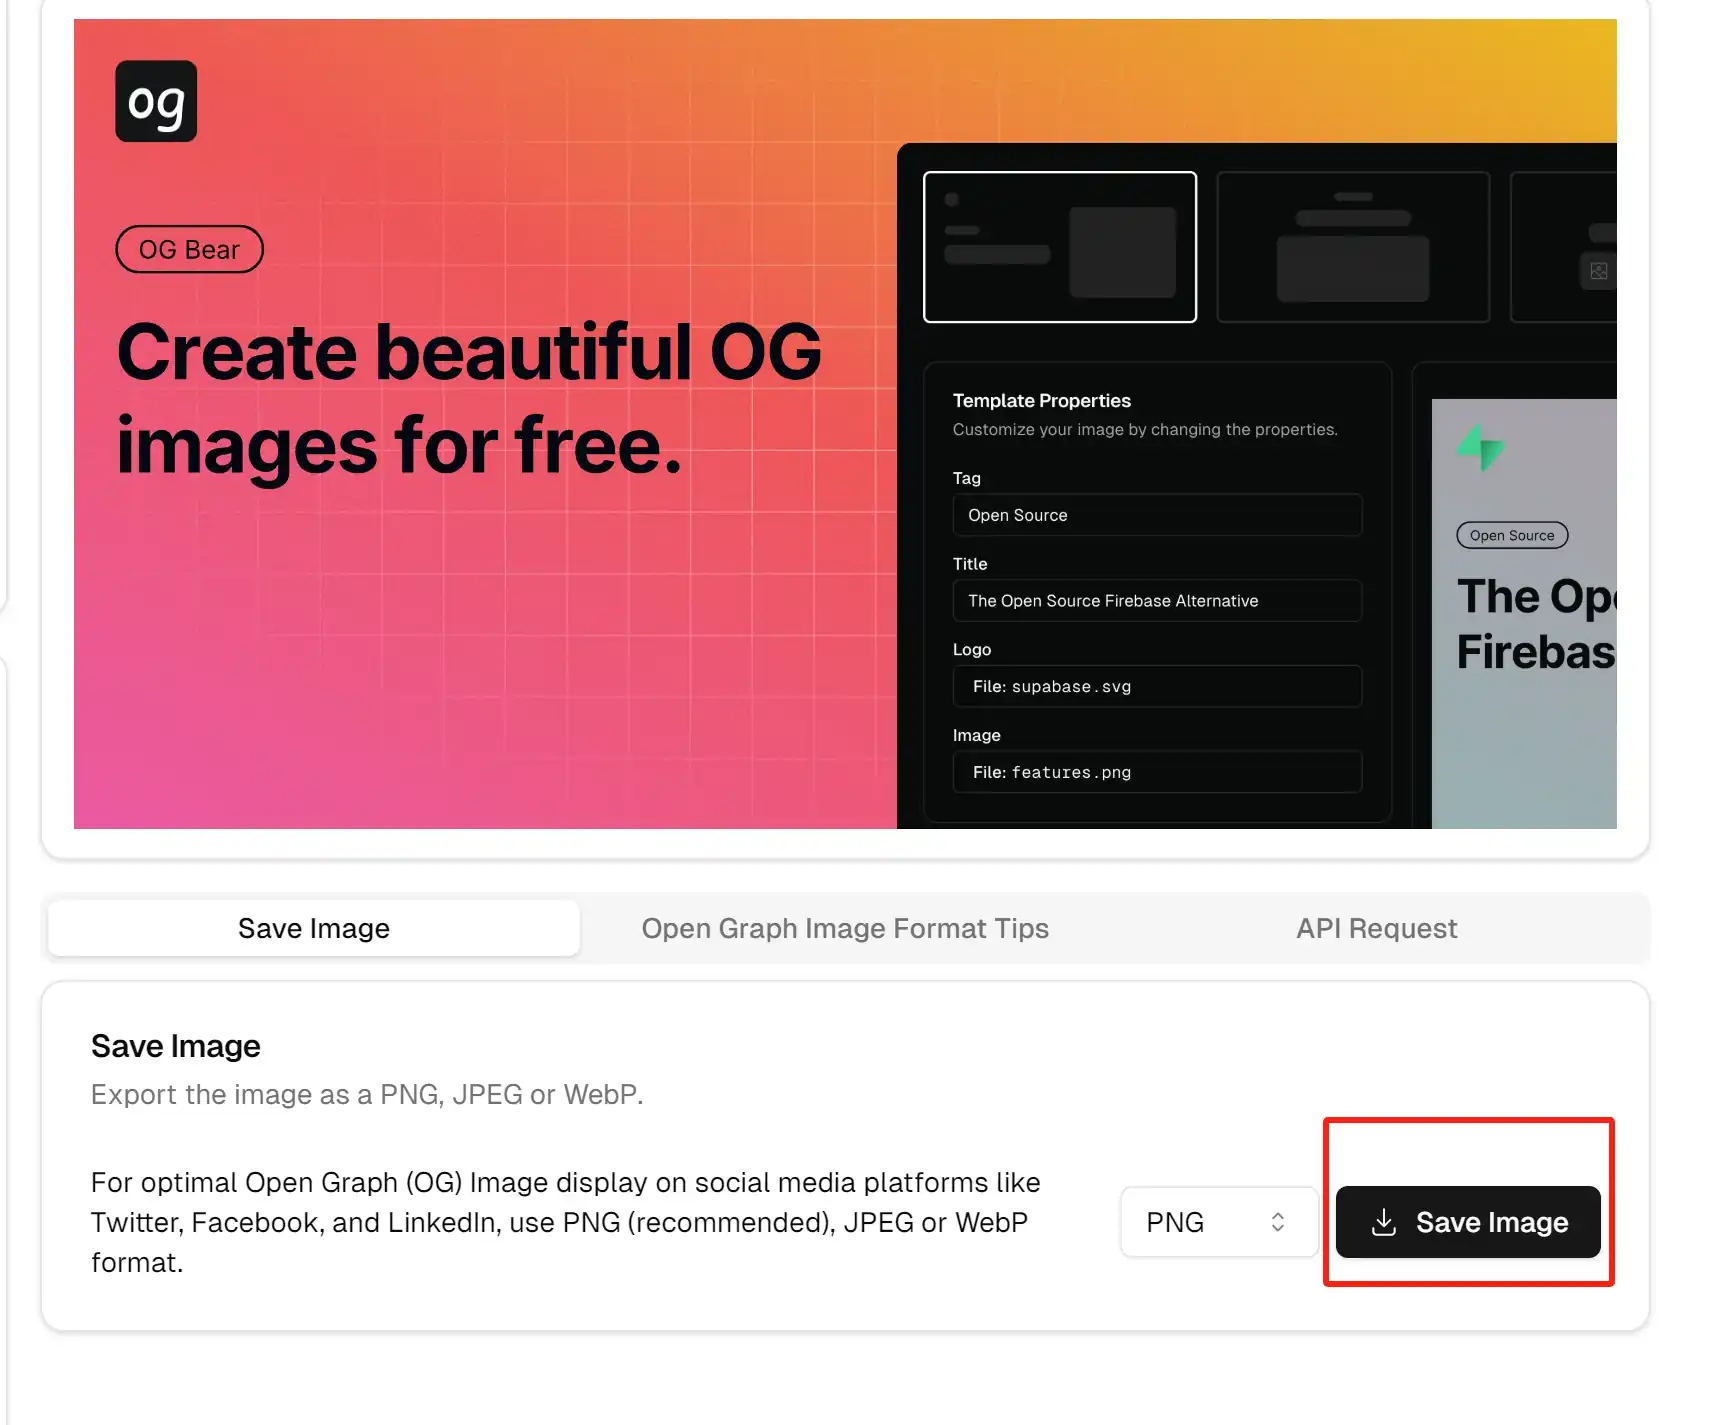
Step 4: Generate and Download Your Image
Once customization is complete, click the “Generate Image” button. After a short wait, your OG image will be ready. Preview it and click the “Download” button to save it to your device.

Adding OG Images to Your Website
After generating and downloading your OG image, you’ll need to add it to your website so social media platforms display it correctly when shared. Here’s how to do it for different types of websites.
For Static Websites
If you’re using a static website (HTML, CSS, JavaScript), follow these steps:
-
Upload the Image to Your Server:
Upload the downloadedog.pngto your site’s root directory or a designated image folder, e.g.,/images/og.png. -
Edit Your HTML File:
Add the following meta tags within the<head>section of your HTML file:<head> <!-- Other meta tags --> <meta property="og:title" content="Your Page Title" /> <meta property="og:description" content="Your Page Description" /> <meta property="og:image" content="https://yourdomain.com/images/og.png" /> <meta property="og:url" content="https://yourdomain.com/your-page-path" /> <meta name="twitter:card" content="summary_large_image" /> <meta name="twitter:image" content="https://yourdomain.com/images/og.png" /> <meta property="og:type" content="website" /> <meta property="og:site_name" content="Your Site Name" /> <!-- Other meta tags --> </head>Note: Replace
https://yourdomain.com/images/og.pngwith the actual URL of your uploaded OG image. -
Save and Upload Changes:
Save the edited HTML file and upload it to your server.
For Next.js Applications
If you’re using the Next.js framework, follow our built-in guide for configuring OG images.
Step 1: Save the OG Image
Save the generated og.png to your project directory, e.g., public/images/og.png.
Step 2: Configure Metadata
Edit the app/layout.tsx file to ensure the OG image is correctly referenced:
// app/layout.tsx
import { Metadata } from 'next'

export const metadata: Metadata = {
  title: 'Your Site Name',
  description: 'Your site description',
  openGraph: {
    title: 'Your Site Name',
    description: 'Your site description',
    images: [{
      url: '/images/og.png',  // Next.js automatically prepends your domain
      width: 1200,
      height: 630,
      alt: 'Site preview'
    }],
  },
  twitter: {
    card: 'summary_large_image',
    title: 'Your Site Name',
    description: 'Your site description',
    images: ['/og.png'],
  },
}
Step 3: Rebuild and Deploy Your Project
Run the following commands in the terminal to rebuild and launch your Next.js app:
npm run build
npm run start
FAQs
Q1: How many colors and fonts can I customize?
You can freely choose from all the colors and fonts available on the site to match your brand style.
Q2: What are the recommended dimensions for OG images?
We recommend 1200x630 pixels, which is the optimal display size for most social media platforms.
Q3: How can I ensure OG images display correctly across all platforms?
Use social media debugging tools like Facebook Sharing Debugger or Twitter Card Validator to test your OG image.
Q4: Can I generate OG images in bulk?
The current version supports single image generation only. For bulk generation, please contact our support team.
Contact Us
If you encounter any issues or have suggestions, feel free to contact us:
- Email: xiaoqingnb (at) gmail.com
- Twitter/x: @xiaoqing224486
We’re committed to providing you with the best experience and look forward to your feedback!
Thank you for choosing our free OG image generator! We hope this guide helps you create with ease. Happy designing!